Creating a new project
To start off this tutorial, we have to create a new project first.
Creating a project
Use the setup command with the --accessToken argument, so it will be remembered the next time you log in. The access token has to be generated. See how to generate an access token.
CleverMaps$ setup --accessToken XbkadJ2ZcUd5_gRi5AjJoKwy3w6Jp5ctBacCCfhUbxQ

Config and credentials saved successfully to /home/tomas/.cleverMaps
Then use the login command to log in to the Shell.
CleverMaps$ login
Found config file: /home/tomas/.cleverMaps/config
	* setting https://secure.clevermaps.io as default server
	* setting /home/tomas/metadata as default dump directory

Successfully logged in as tomas.schmidl@clevermaps.io (using access token)

tomas.schmidl@secure.clevermaps.io$
You are now connected to a server and as you can see, the context has changed to tomas.schmidl@secure.clevermaps.io. In every project you create, you automatically receive the Admin user role.
You can list all your projects with listProjects command. Chances are though, that you have no other projects there yet.
To create a project, use the createProject command. Give the project a title and optionally, a description.
tomas.schmidl@secure.clevermaps.io$ createProject --title "First project" --description "My first project in CleverMaps"
No organization has been set for a new project, creating a TRIAL project.
Created project k5t8mf2a80tay2ng
Project k5t8mf2a80tay2ng (First project) successfully opened
	Project title: First project
	Organization: CM Trial

Opening dump...
You don't have dump to open for this project.
tomas.schmidl@secure.clevermaps.io/project:k5t8mf2a80tay2ng$
After making any changes to the project using Shell, always refresh the browser window (F5) to see the effect.
New project has been created and opened. It is uniquely identified by the generated project ID - k5t8mf2a80tay2ng. The context has changed to an opened project - /project:k5t8mf2a80tay2ng$.
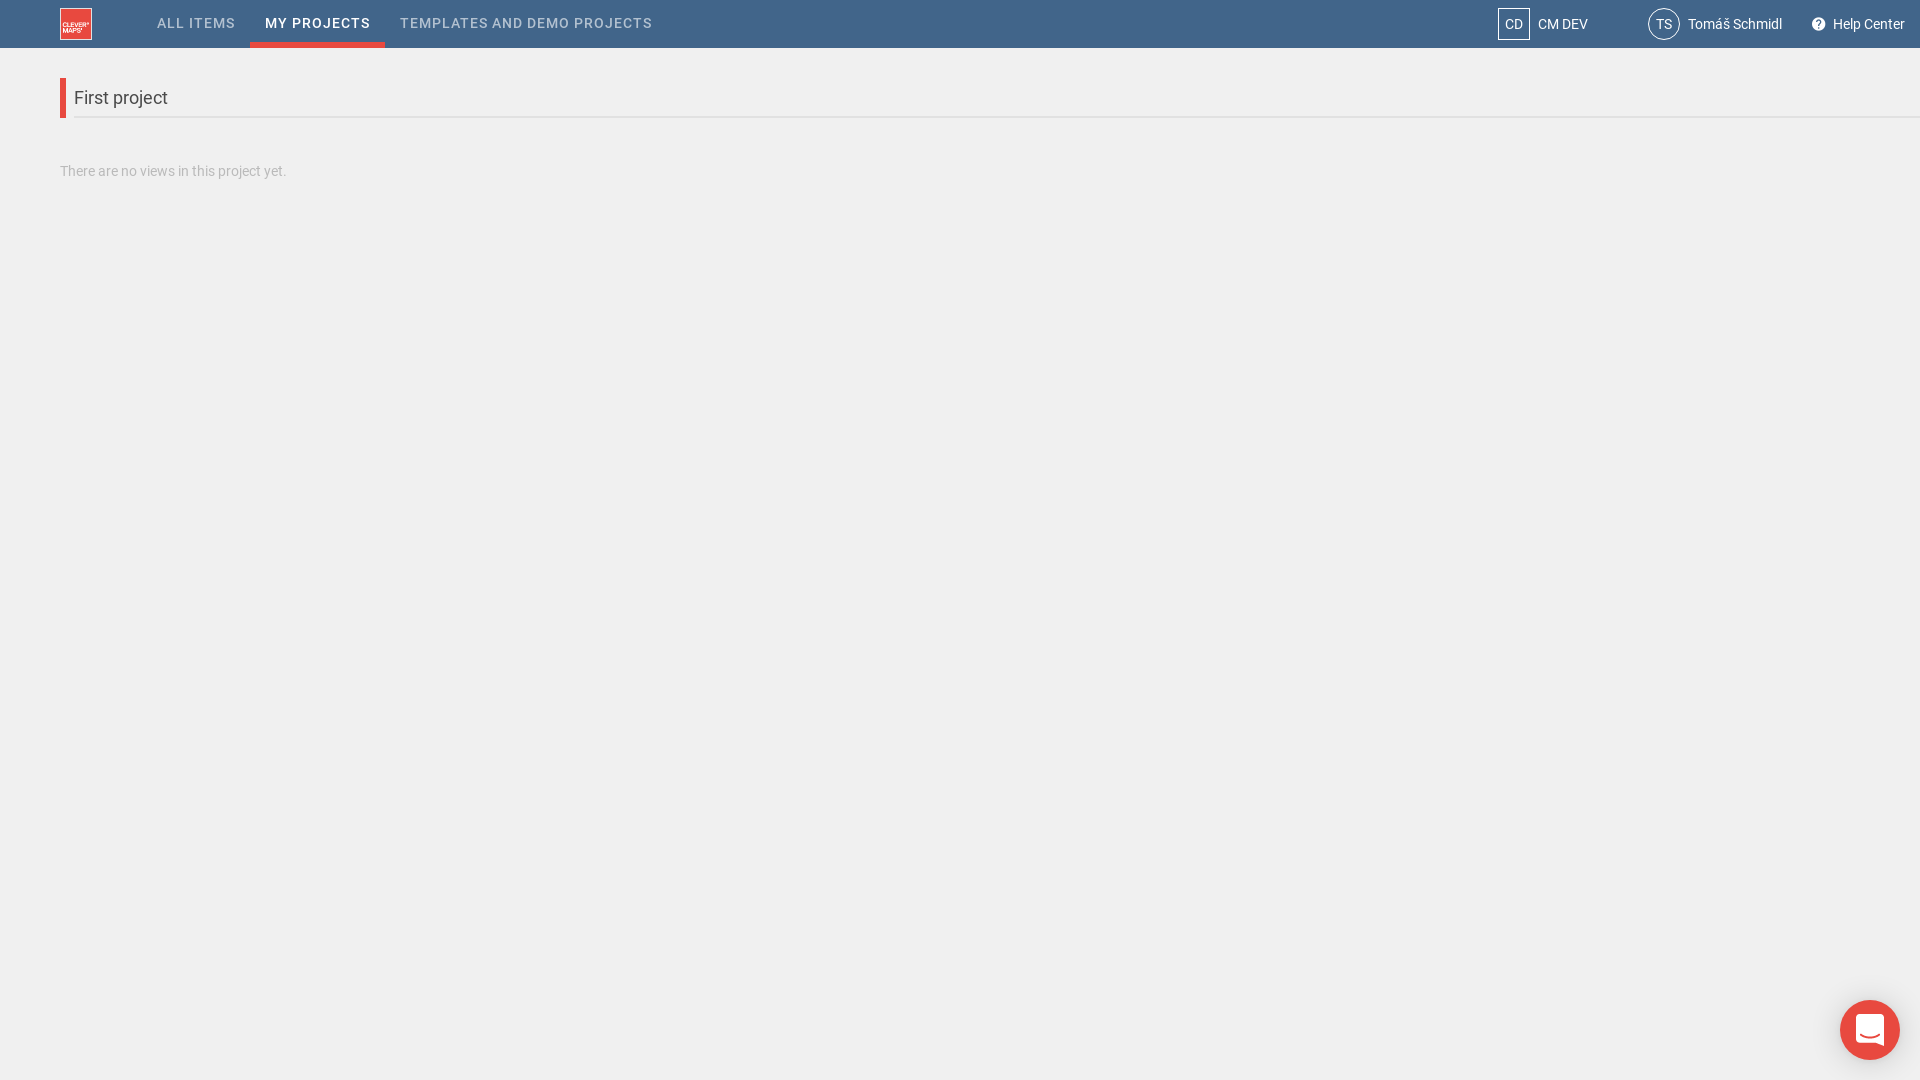
Project page of an empty project

Dumping the project
To start editing the project, we have to make a dump of the project to your local machine. Project dump is an image of the project. Detailed description can be found in the dump structure article.
Our new project is empty so far - it does not contain any data or metadata. The dump which we'll create, will be an empty one, but it will serve as a base for our future work.
tomas.schmidl@secure.clevermaps.io/project:k5t8mf2a80tay2ng$ dumpProject
Creating project directory /home/tomas/metadata/k5t8mf2a80tay2ng
Creating data dump directory /home/tomas/metadata/k5t8mf2a80tay2ng/data
Creating metadata dump directory /home/tomas/metadata/k5t8mf2a80tay2ng/metadata
Metadata dump started...

Project metadata successfully dumped to /home/tomas/metadata/k5t8mf2a80tay2ng/metadata

Asynchronous data dump started...

Project DWH data successfully dumped to /home/tomas/metadata/k5t8mf2a80tay2ng/data

Dump opened

tomas.schmidl@secure.clevermaps.io/project:k5t8mf2a80tay2ng/dump:$
You can see that the dumpProject command has created the dump directories.
_
![]() That's it! In the next chapter of this tutorial, we will learn how create a view and a dashboard.
That's it! In the next chapter of this tutorial, we will learn how create a view and a dashboard.
