
Back to 2. Add basic content
Continue to 4. Include Map dashboards
3.1. Add chapters
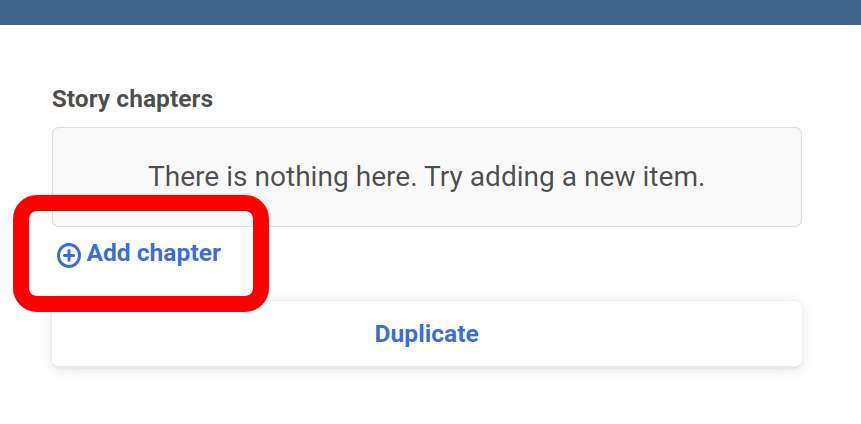
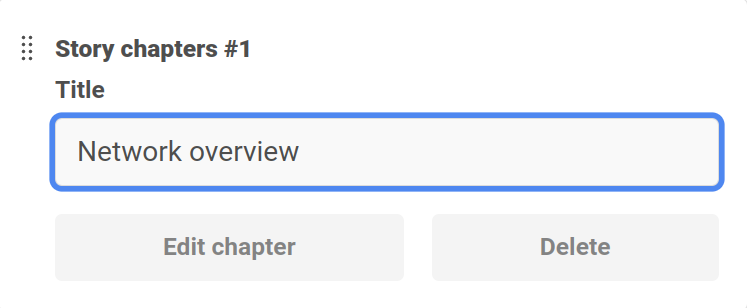
Click Add chapter button on the right side. The input field will appear with a prompt to fill in a new chapter title. Fill in the name, and to create a chapter, press the “Save” button in the top right corner.
Try to create three new chapters with the titles “Network overview“, “Weak nodes“, and “Node detail view“. Click the “Save” and “View Story“ buttons. You should see four chapters in the top menu, as captured in the screenshot on the side.

3.2. Chapters management
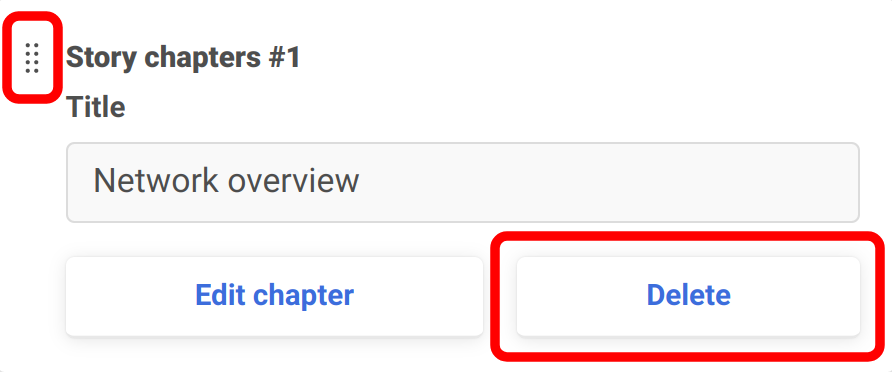
To remove the chapter, click the “Delete” button. To reorder chapters drag the dotted area on the left side of a chapter card. Just remember to always Save changes. You may try to reorder chapters back and forth.
3.3. Edit chapter
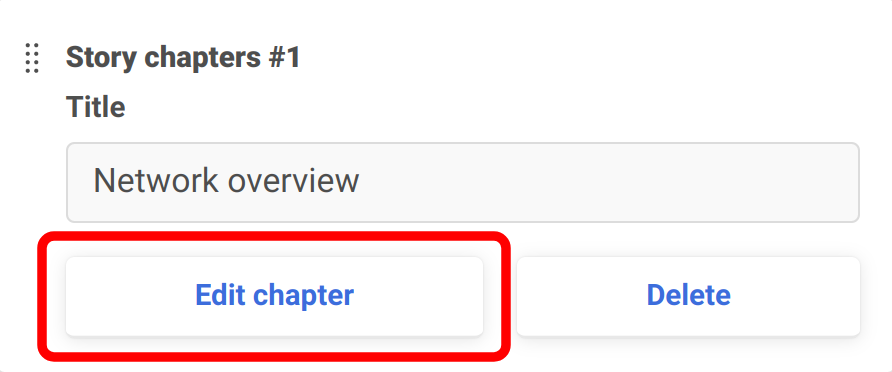
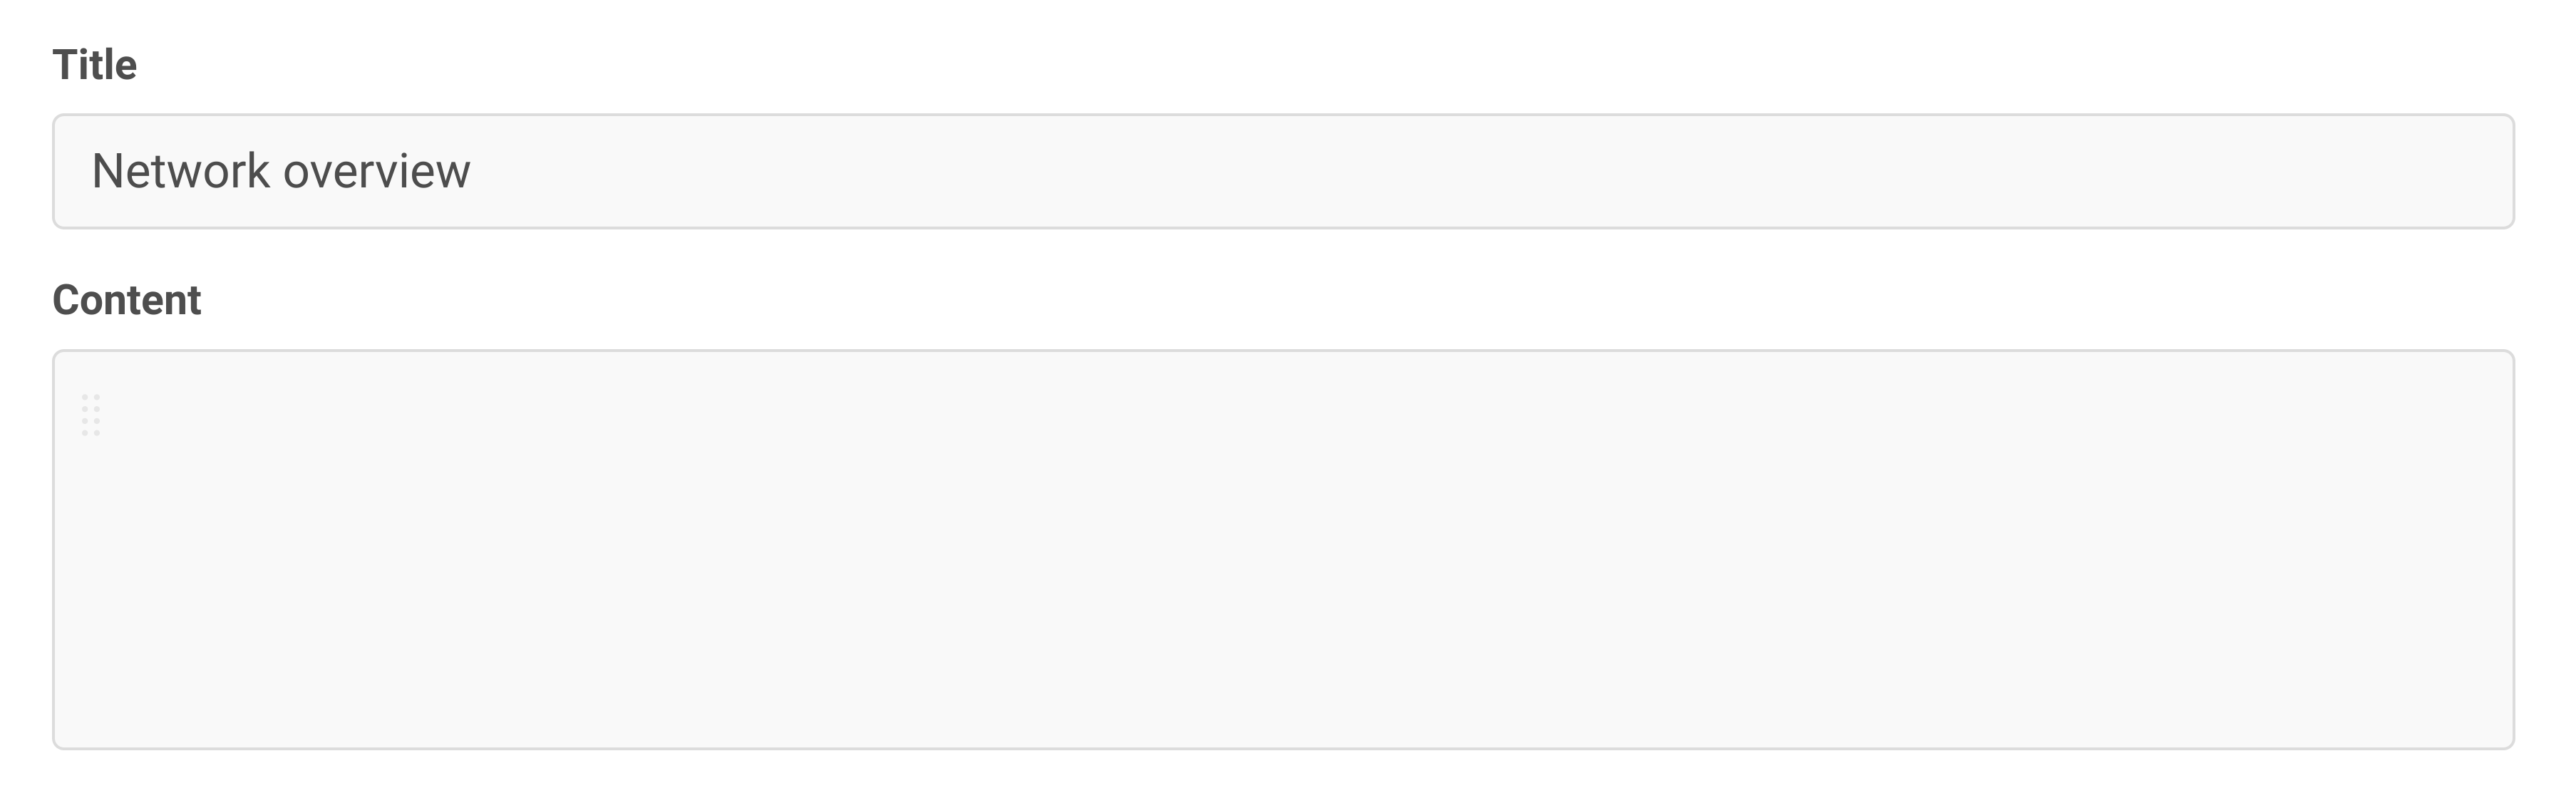
To edit the content of a chapter, click “Edit chapter“. In the following parts of the tutorial, we will fill the content of all three new chapters. First will be the Network overview; click “Edit chapter“ on the Network overview chapter card.
Back to 2. Add basic content
Continue to 4. Include Map dashboards