
Back to Tutorial (Stories builder)
Continue to 1. Create new Story
Before you start, you need two things - CleverMaps account and Access to the project.
a. CleverMaps account
If you do not have one, sign up here.
If you need help signing up, follow this tutorial.
b. Access to project
CleverMaps project is an entity packing together data model, metrics, map dashboards and stories. It means each story is built on top of a single project and uses map dashboards of the project. To build a story inside a project, you need to be its Admin, Metadata editor or View creator.
See more about projects, roles and access control in the article User roles and Permissions.
We recommend using a predefined template to create a suitable project for this tutorial.
b.1. Find the template
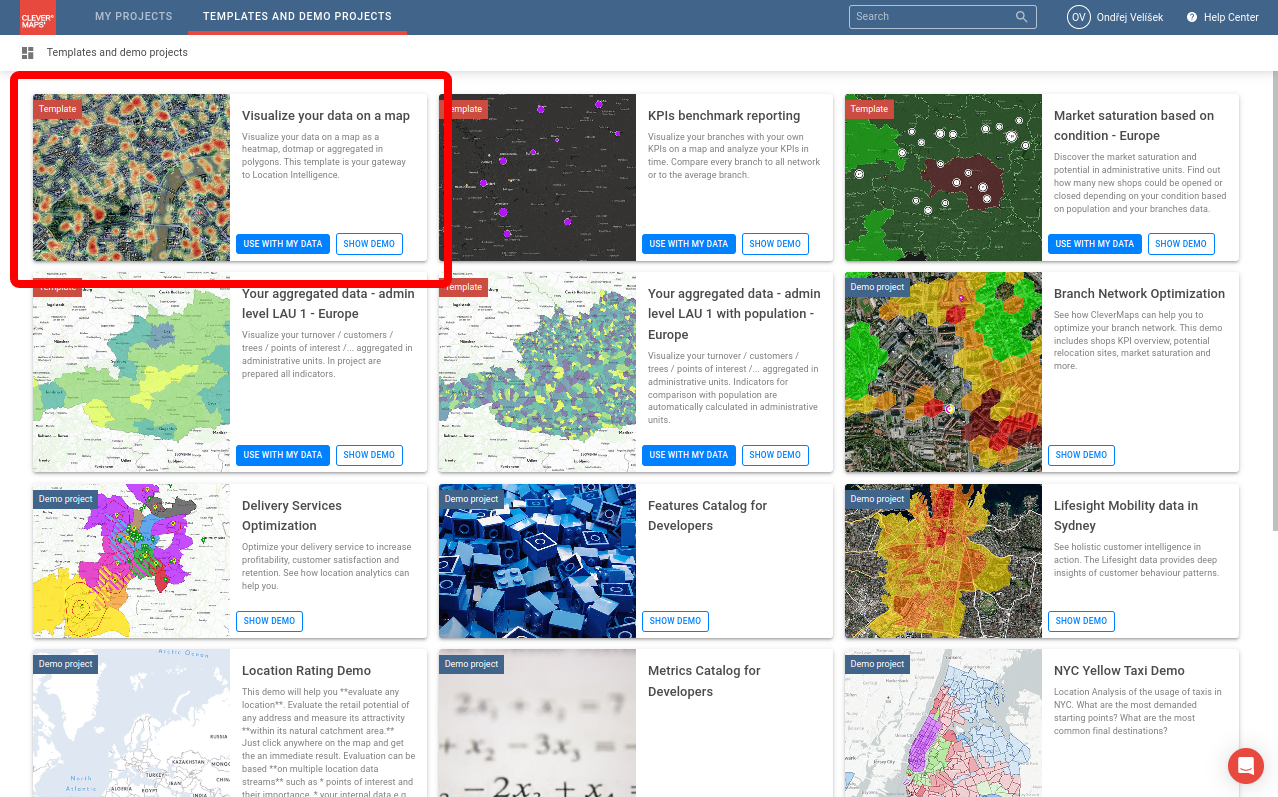
Open a list of templates and demo projects. Search for “Visualize your data on a map” and click the “Use with my data” button.
b.2. Create a project
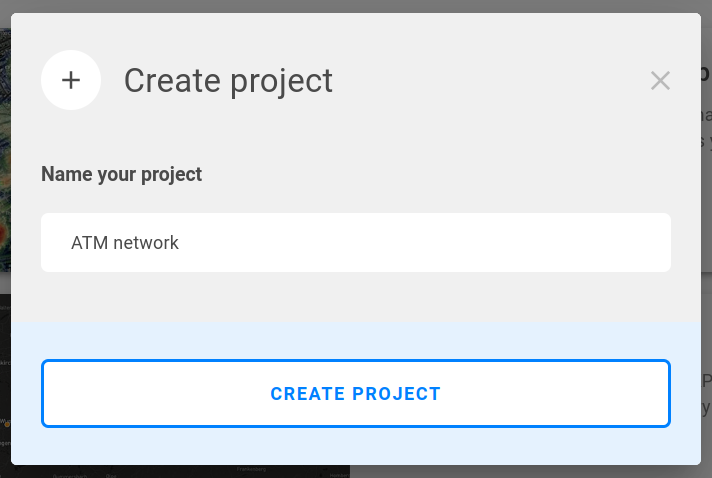
Fill Name of your project as “ATM network”, click the “Create project” button and wait until your template is cloned. It may take a while.
b.3. Upload your data
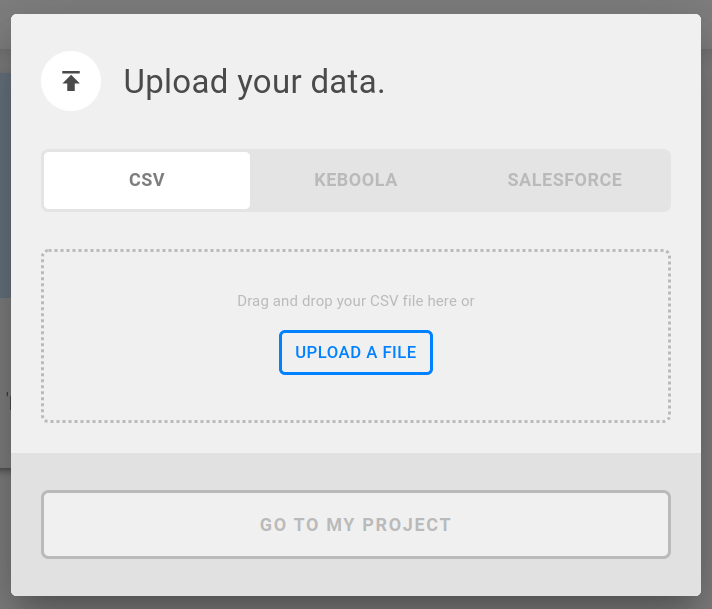
Download a CSV file with ATMs data here:
ATM-data_tutorial_Stories-builder_CleverMaps.csv
and upload it into the cloned template. It may take a while.
b.4. Check your project
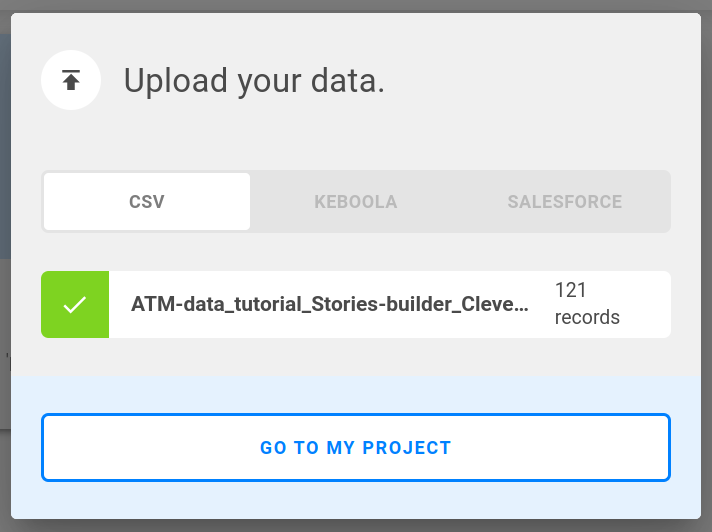
Click “Go to my project” and you are done. Congratulation. You’ve just created a CleverMaps project.
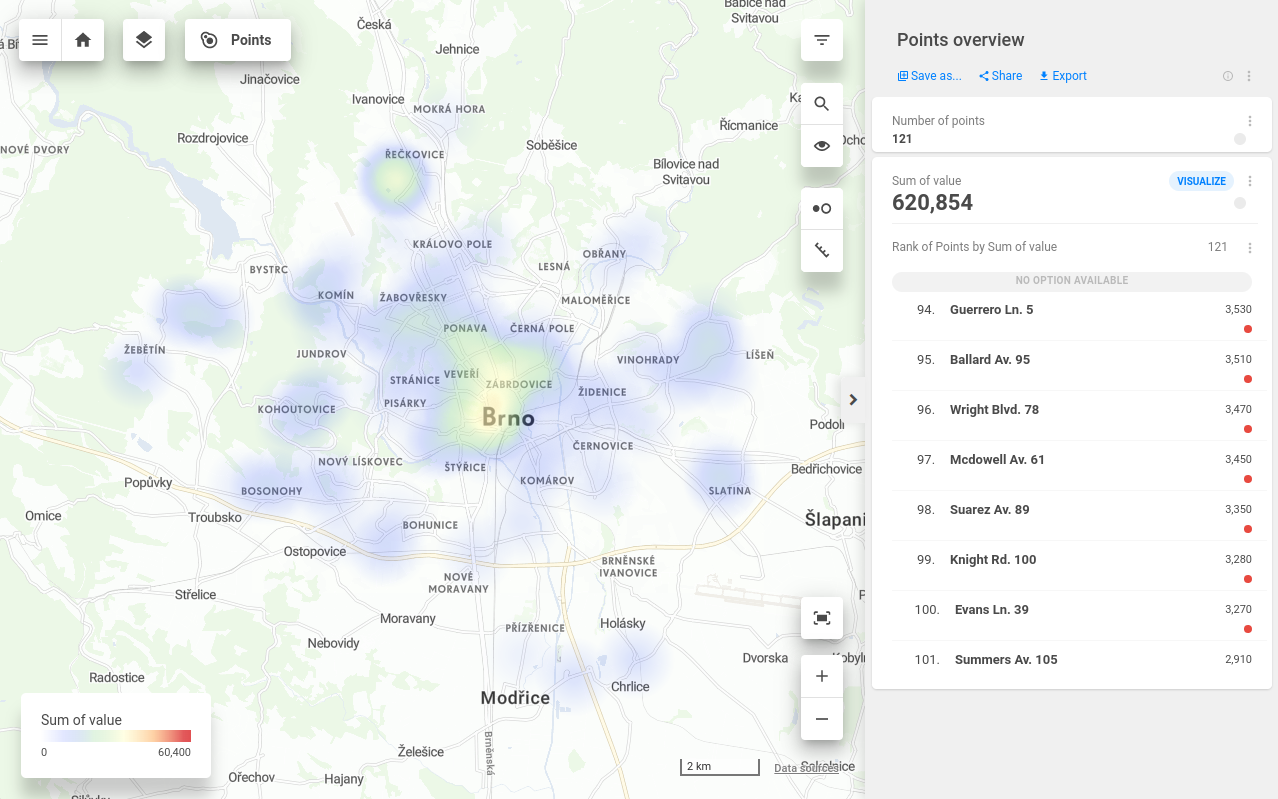
Optionally you may open and check the map dashboard called “Points overview“ by clicking on its tile.
Back to Tutorial (Stories builder)
Continue to 1. Create new Story